Common DIY Painting Mistakes and Professional Tips on Avoiding Them, Part 1
This is a 3-article series, containing a total of 11 important painting tips from a professional painter.

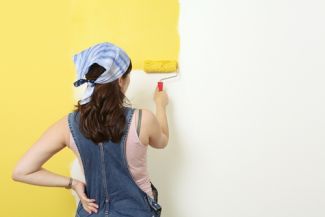
Bruce Scofield has over 50 years of experience as a professional painter. Name any type of surface and he has most likely painted it! We recently asked him to share his tips for those of us who lack his expertise. In this series of articles, we highlight some common mistakes he has observed over the years, along with his advice on what to do instead. Want to find out how to paint a wall before you embark on your first painting project? Read on...
Mistake #1: Skimping on surface prep.
Why it’s bad: Paint is just a thin covering; there is a limit to what it will hide. In order to achieve the full visual benefit of a fresh coat of paint, the imperfections of a surface must be corrected as much as possible before you ever touch the paint bucket. Some surfaces will need special treatment.
Do this instead: Replace any sheetrock or wood that is damaged. Wood may need sanding if it is not smooth. If there is mold on the surface to be painted, wash it off with a 2 to 1 solution of water to bleach, or the new paint will peel. Always wash a dirty surface or any outside surface before painting. Otherwise the paint will not adhere properly. Lightly sanding previously painted surfaces will also help with surface adhesion. Scrape off any old globs or peeling paint with a stiff putty knife. Apply joint compound over small holes or depressions with a flexible putty knife. Use one stroke to apply it, then another stroke at a 90 degree angle to the first stroke to wipe away any excess. Do not overwork the joint compound. If you are inexperienced, you may need to very gently sand this area first, before painting, using fine grit sandpaper (refer to upcoming tip # 10 on the use of primer).
Another professional tip is to neatly apply paintable caulk to fill any gaps between trim and your wall surface. Gently smooth the bead of caulk with your finger, removing any excess; you may want to dampen your finger. If you are not experienced with caulking, Bruce recommends these steps to avoid a messy trim surface: mask the trim, apply the caulk, smooth the caulk into the gap, then pull off the masking tape, leaving a neat edge along the caulking.
Mistake #2: Buying poor quality brushes and roller covers.
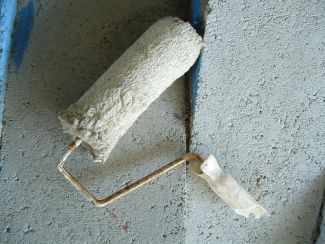
 Why it’s bad: Inferior painting tools make painting more difficult than it needs to be. It is hard to produce a good result when your brushes and rollers do not perform well. Inexpensive brushes may be stiff, shed bristles, and make it difficult to paint a crisp line. Poor quality roller covers will leave ragged edges.
Do this instead: Buy good quality brushes and rollers. As with most trades, good tools can make the difference between a well-executed painting project or one that is aggravating to accomplish and has a poor result. Good brushes hold paint well, which makes it easier to paint with smooth strokes and as few brush marks as possible. A good quality roller cover will apply paint consistently, helping you avoid roller marks. Thoroughly clean these tools immediately after use, and you will be able to use them many times.
Mistake #3: Leaving hardware in place.
 Why it’s bad: Carefully painting around hardware is difficult and time consuming. Anything that detracts from the uniform painted surface is noticeable and should be avoided. A small gap or ridge in the new paint or, even worse, a dab of misplaced paint does look surprisingly unsightly.
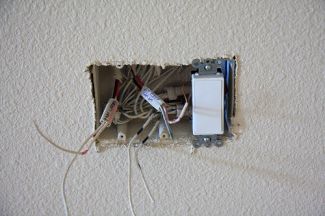
Do this instead: Remove switch plates, curtain hardware, cabinet handles and anything you do not want to paint that is reasonably easy to remove. You can mask around door knobs and light fixtures. This will be worth your time in the long run and will give you a superior, uniformly finished look.
Mistake #4: Being ill-prepared for accidents.
Why it’s bad: Paint can easily end up where it’s not supposed to be – for example, tracked across your floor!
Do this instead: Cover all floors with drop cloths, card board, craft paper, or even old sheets. Keep a damp cloth handy to quickly wipe any stray strokes or splatters. Avoid spills by never setting your paint container on a ladder. Make your job easier by using these tools: a hook to hang a paint bucket on a ladder, a handy paint cup to hold a small amount of paint (some even have a magnet to hold your brush), and a long handle attachment for rolling on high spaces.
We’ll continue this series in our next installment, with 4 more DIY painting tips from Bruce.
Image sources: mediadeo and juniorvelo
 The Common DIY Painting Mistakes and Professional Tips on Avoiding Them, Part 1 by Water Damage Defense, is licensed under a Creative Commons Attribution-ShareAlike 3.0 Unported License.
